There comes a point in everyone’s life when the plain white walls and standard-issue cabinets start to feel less ‘minimalist chic‘ and more ‘I just moved in and gave up.’ I hit that point months ago.
There were rooms in my flat that were prioritised and 100% decorated. I think I ended up spending so much time on these rooms (the living room, dining room and bathrooms) I ended up ignoring the other rooms in the flat. This created such a mismatch in vibe and decor and annoyed me to no end. But I just wasn’t in the place to make permanent renovations to these rooms especially the kitchen so needed more temporary fixes. I wouldn’t call it a full-blown renovation breakdown, but let’s just say I spent a not-insignificant amount of time scrolling through Pinterest. I was craving that ‘magazine meets cosy café’ vibe — that feeling of walking into your space and thinking, yes, this is mine, and it looks amazing.
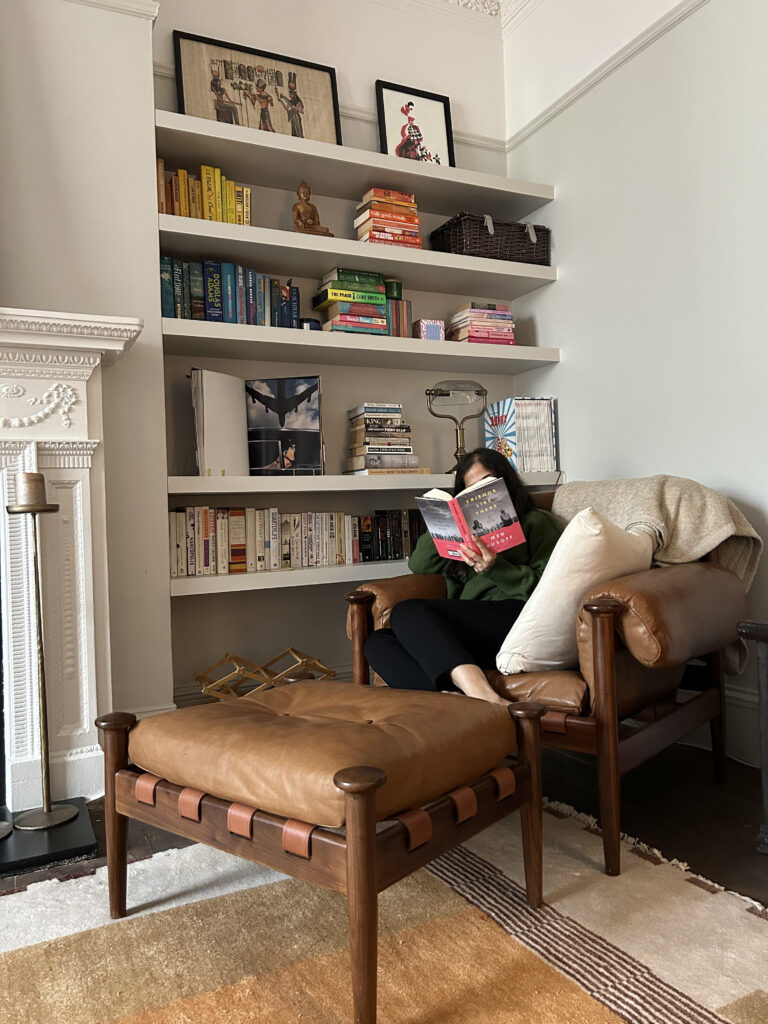
I finally planned out the upgrades I want to make at home.
Step 1: The Vision Board
It started with an online mood board. Even if its a temporary fix, use Pinterest or another visual aid to see the space you are aiming for.
Soft neutrals. Warm layered lighting. Faux rustic accents. Thats the vibe I am aiming for in all spaces. Specially a kitchen that didn’t make me sad and a bedroom that didn’t look like a student accommodation.
I wanted not just comfort, but also character. A light, airy and clutter free space, but not sterile. Every conflicting design dream you could imagine, except with one hard limit: the budget had to have commas, not zeros. With a set budget which most of us are dealing with, planning and visually seeing the space you are aiming for is so important.
Step 2: The Realisation that Small Tweaks > Major Overhauls
I’m not a minimalist by nature, but I admit, the tidying-up boom taught me one thing: for me personally, clutter is often just a stand-in for indecision. I leave things out because I don’t know where it goes or have a plan for it which I have not yet executed. And the problem with clutter is it doesn’t matter how well you style you space, if there is clutter, it will always look sloppy.
The problem was, I didn’t want to make any permanent major changes since after the main rooms were decorated, I had a much smaller budget I could play with. What followed was a slightly chaotic, surprisingly affordable but a nicely styled space packed with a distinct personality and lots of storage.
Before I bought a single item, I did a deep clean and a huge purge. I’m talking things I bought from 2013, thrifted sandals and clothes that don’t fit anymore, to name just a few. I posted almost everything on Vinted or Olio or took it to the charity shop. Its a painful and tedious process but a must do. Surprisingly, getting rid of extra stuff didn’t make my flat emptier but it did make it feel like it had more space to be something new.
That gave me a functional foundation to start adding pieces that would actually elevate the space.
Step 3: Faking Architectural Detail With Brick Wall Panels
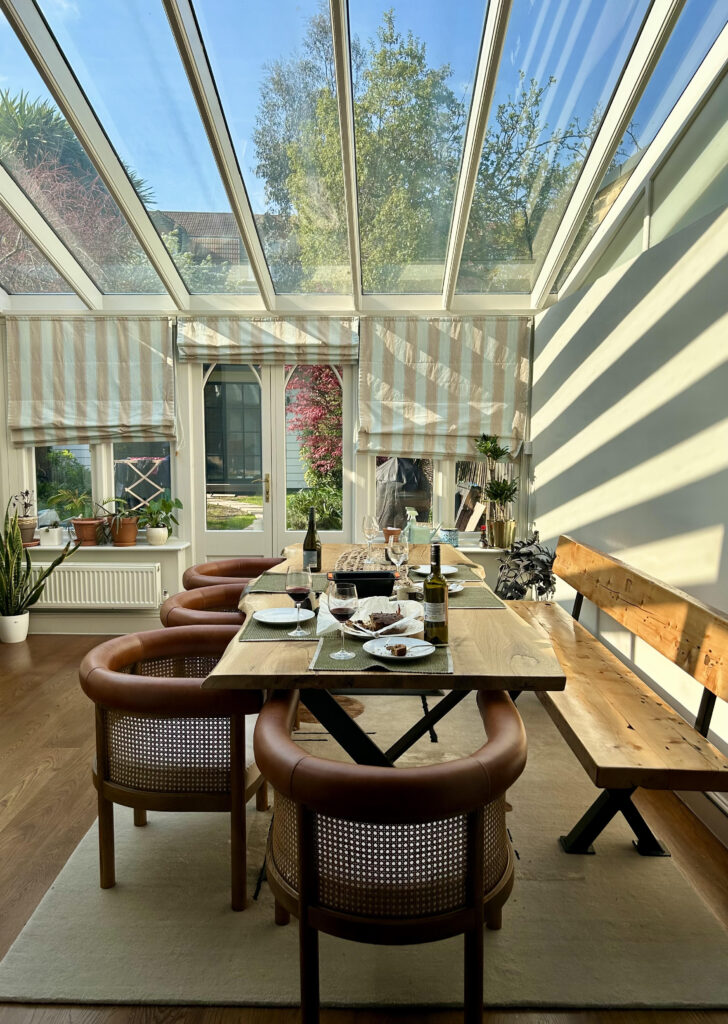
My current flat has lots of architectural details which are beautiful which made it easy to style most of the flat. However, the extension is a more recent renovation and I did feel it had some architectural details missing. To make it a more cohesive space with the rest of the flat, I want to add in a faux brick wall panels. I think this would look perfect for the bar area in my conservatory.
These are affordable, fairly DIY-friendly and removable. And they look real. Not in that party backdrop kind of way, but in that ‘this could totally pass for an original feature’ kind of way. I think it would really well behind my bar shelves and makes my living room get a little more texture and character.
Step 4: Layered Light That Looks Well Though Out
One of the best ways to style a space is lighting. I have learnt well from design magazines and one very insistent friend – we do not use overhead lighting. And honestly, I totally see the point. Overhead lighting gives me a headache and reminds me of an office or doctor’s waiting room – not the vibe I want at home at all. But honestly, at the same time, I hate recessed lighting. Lighting is a part of decor and recessed lighting just feels like you have given up.
I love lamps which add mood lighting. Another trick is custom backlit signs that are dimmable, lightweight, and easy to mount with adhesive strips. Its perfect for a temporary space and the best part is it doesn’t look untidy if you don’t have a socket nearby.
Step 5: Temporary Kitchen Glow-Up
I currently don’t have the budget or energy to renovate the kitchen, so surface level upgrades are what I am considering here. I have been obsessed with peel-and-stick tiles I have been seeing all over Instagram. These are a perfect way to get rid of the tiles in the kitchen I currently hate. I also want to instal some slim, sensor-activated LED lights under the cabinets. My kitchen doesn’t have a window so lighting is super important. If I have to spend time cooking, I might as well make the space look nice.
Step 6: A Bedroom That Feels Like a Weekend Morning
I wanted my bedroom to feel like sleeping in a cloud, one with taste and a hint of bank account balance. I started with neutral bedding layered in texture: a cream duvet, cable knit blanket, and linen pillowcases. Then I added an accent wall using self-adhesive wallpaper in subtle, warm-toned geometric patterns.
A single framed print leaning on the nightstand gave it a curated touch, while clip-on reading lights added an easy, ambient glow. Finally, I hung lined curtains, which not only improved my sleep but also made the window look twice as big.
Step 7: Storage That Doesn’t Kill the Vibe
Nothing makes a flat look messier than clutter without a place to hide, so I turned to stylish storage solutions that doubled as decor. I tucked a few woven baskets under the bookshelves, one for cozy blankets, one for random wires and chargers and one for toys. All clutter kept out of sight in chic baskets.

I love using Pinterest for decor inspiration but a home shouldn’t be a perfect replica of a Pinterest photo. It should be where you feel both calm and seen. Sometimes, all it takes is a few smart moves, some statement brick wall panels, ambient backlit signs, a solid playlist, and the belief that home isn’t made in a day.
It’s layered slowly, lit deliberately, and lived in fully.
– Anisha


Leave a Reply